 |
| How to propagate Dahlias |
When summer is just around the corner, every garden has the ability to become a real extravaganza of colour, and dahlias can make some of the strongest impact. With sturdy new stems produced on over-wintered tubers (specialised roots), June is the perfect time to increase you stocks by taking green wood cuttings.
Gently remove a stem by cutting it away from the parent plant as close to the main root as possible. That way you are ensured of a solid stem (the majority of a dahlia stem is naturally hollow). Cut across the stem directly beneath the bottom most leaf node as this is the point from which the new roots will grow best.
Using a sharp knife remove the growing tip above the next node up, but leave the side shoots intact. Then with a dibber, place the cutting just inside the edge of a terracotta pot that has been filled with a standard seed and cutting compost mix. Push them down so that the side shoots are just touching the top of the compost. Label it and water with a fungicide, then transfer it to a cool protected environment such a ventilated greenhouse.
The cutting should root within a few weeks, but take great care when separating out these new plants for repotting as their root systems will need to be disturbed as little as possible. These can now be potted up individually and removed to a protected area outside. Come the autumn and not only would these young plants have produced some embryonic tubers for over-wintering, you may even have been lucky enough to see some flowers. Unfortunately it is unlikely that the tubers will be big enough to survive an English winter so come October and definitely before the first frost arrive, stop watering and bring them back inside for protection.
Once the foliage has withered back to the stem, place then out of the way until the following spring when they can be repotted to a larger size. Give them plenty of water, fertilizer, love and attention and you will almost guarantee a spectacular show for the summer.
PROPAGATION BY DIVISION
After the first hard autumn frost arrives and blackens most of the leaves it's time to lift the tubers. Cut down the blackened stems to about 15 cm and then , using a sturdy fork, lift the entire tuberous root system. Take off as much soil as you can, then store upside down for a couple of days to dry.
Give them a good dusting of sulphur fungicide, wrap each tuber in thick newspaper then place them into boxes protected by, straw, wood shavings or peat allowing them to remain dormant in a frost-free place , between 4 and 7 degrees Celsius. Come the following spring and just before the growing season, divide the tuberous roots into sections making sure that each section has at least one prominent bud. Dust each cut section with a fungicidal powder and allow to dry for a couple of days so that the cut surfaces have a chance to callous over.
.
These new root sections can now be potted on in John Innes No.1 but unlike most other plants it is important NOT to water them in. Label them and place them back into a frost-free area moving them into a bright position, but not into direct sunlight until the foliage has a chance to harden off. Watering can begin once new growth starts to appear.
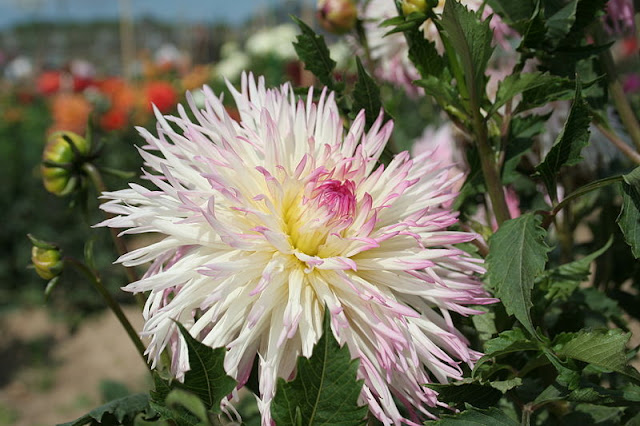
Main image credit - Loïc Evanno https://creativecommons.org/licenses/by-sa/3.0/deed.en
For related articles click onto the following links:
DAHLIA 'Bishop of Llandaff'
DAHLIA PESTS AND DISEASES
DAHLIA 'War of the Roses'
HOW TO GROW DAHLIAS
HOW TO GROW DAHLIAS FROM SEED
HOW TO GROW THE TREE DAHLIA - Dahlia imperialis
HOW TO OVERWINTER DAHLIA TUBERS
HOW TO PLANT AND GROW DAHLIAS
HOW TO PROPAGATE DAHLIAS
THE HISTORY OF THE DAHLIA
The National Dahlia Collection


No comments:
Post a Comment